How to install FreeBSD 9?
FreeBSD 9 comes with a new installer and installing it is quite fast.
Part 1 – Download the media
Step 1 – Download the DVD ISO
- Go to http://www.freebsd.org/where.html and click to the ISO link for FreeBSD 9 for you architecture. (x86, amd64, etc…)
- Click to download the FreeBSD-9.0-RELEASE-amd64-dvd1.iso.
Step 2 – Burn the ISO to a DVD
I am not going to give you steps for burning an ISO, as you could be on Windows, Linux, OS X, and you could be using any of the DVD burning tools out there.
I’ll give you this hint though…Do not burn the ISO file onto the disk as a file.
Note: Skip this step if you are installing to a virtual machine.
Part 2 – Install FreeBSD
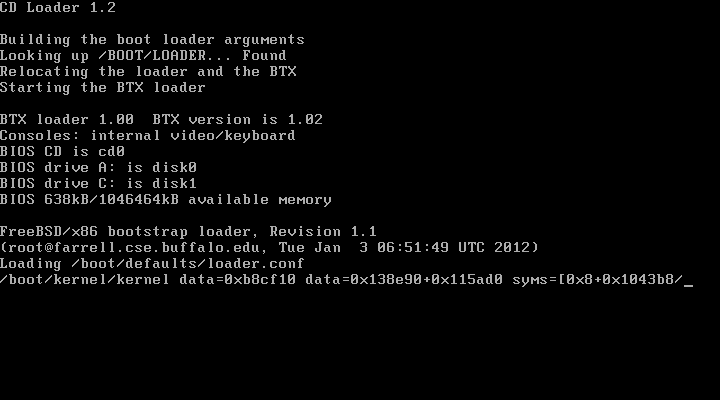
Step 1 – Boot off the DVD
- Put the DVD in your drive. (Or if using a virtual machine, point the virtual machine’s DVD drive to the ISO file.)
- Boot your system.
Note: If you system doesn’t boot off the DVD check the BIOS settings or try pressing F12 to select the boot device
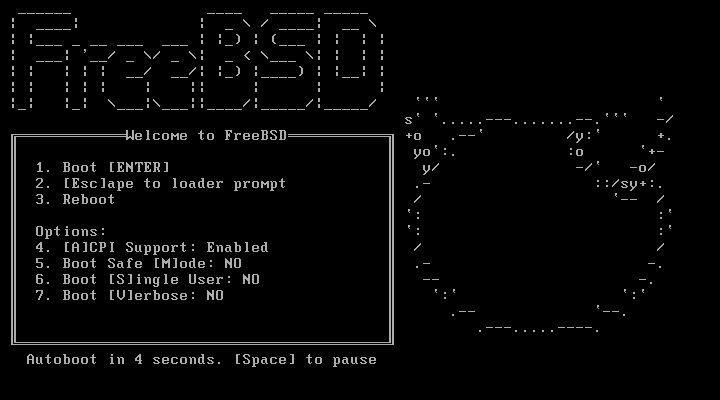
- The next screen will automatically boot but delays 9 seconds.
Press enter to continue without waiting.
Your now booting to the installer.
Step 2 – Install FreeBSD
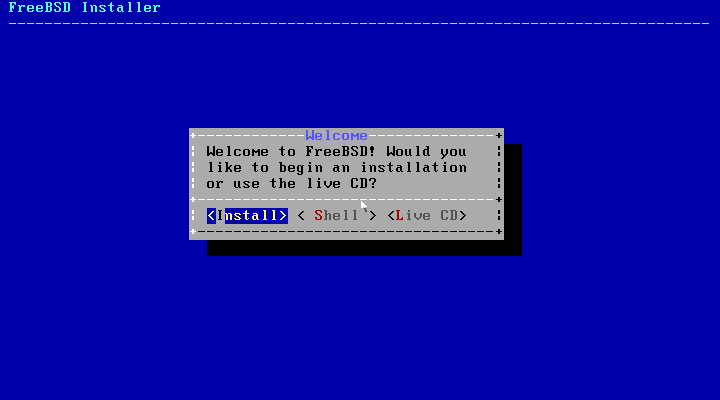
- Click Install on the first screen.
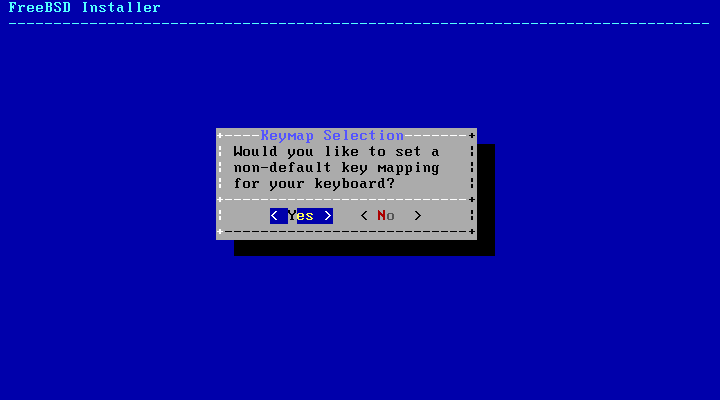
- If you need a special keyboard layout, click yes, otherwise, click no. I clicked no.
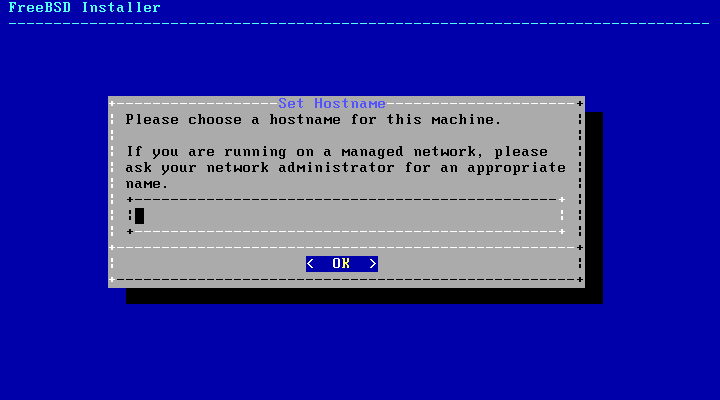
- Enter the host name for this new installation.
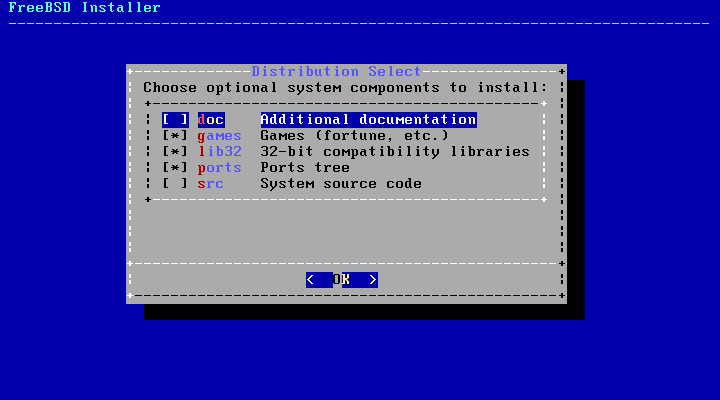
- Select the optional system components and press enter.
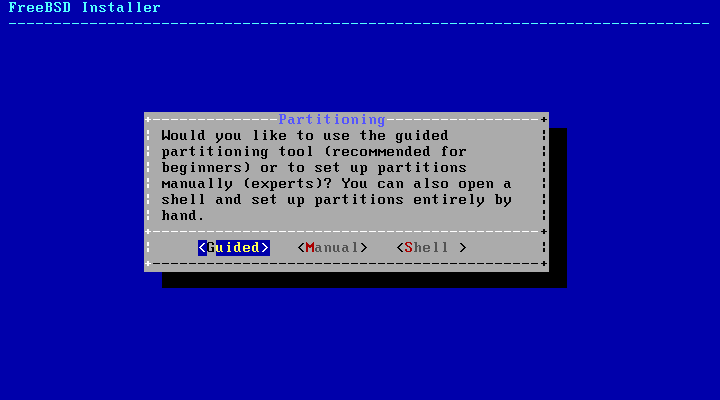
- Partitioning can be done for you with Guided or you can do it yourself with Manual.Note: With todays hard drives, there is little to no benefit from having multiple partitions as there was in the past. Just use Guided and the root partition will fill the drive.Note: Doesn’t look like we have ZFS options yet.
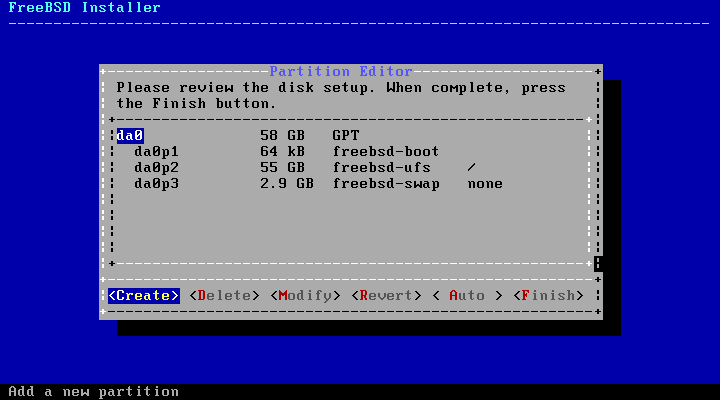
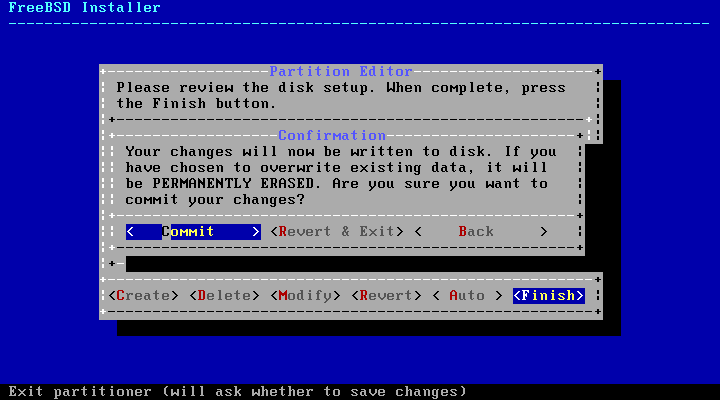
- Look over the guided partition settings.
- Click Commit to perform the installation.
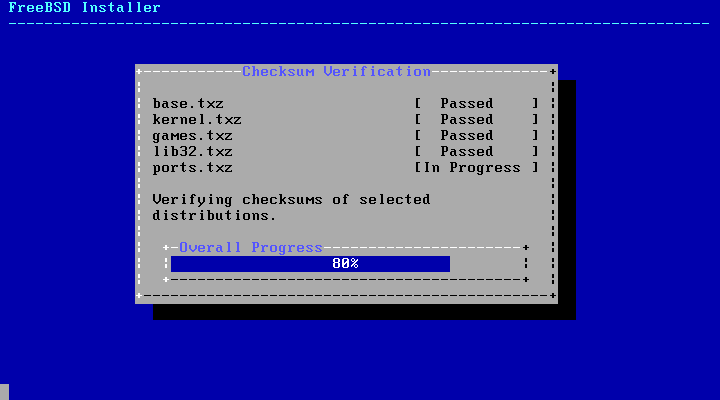
It runs the checksum verification to make sure media is valid.
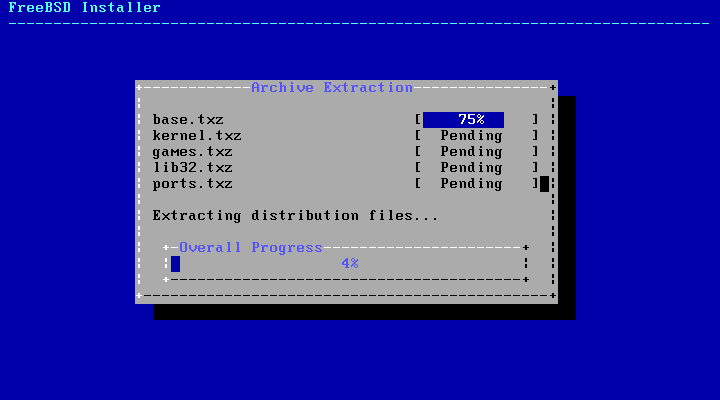
It then commits the install.
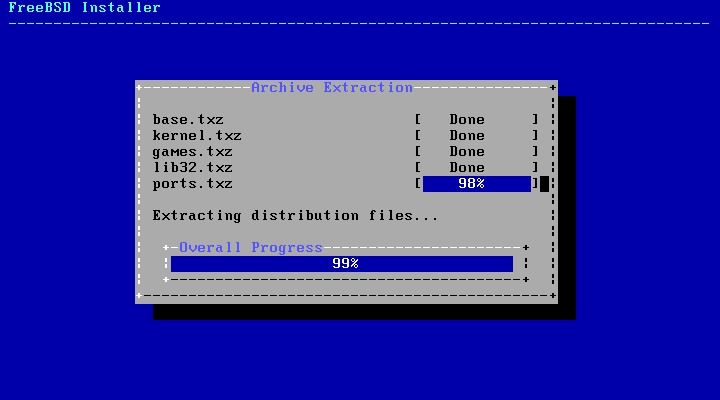
It is actually not that long of a wait before you are pretty much done.
The installation has committed. You will now be asked post-installation configuration questions.
Step 3 – Configure Post-installation settings
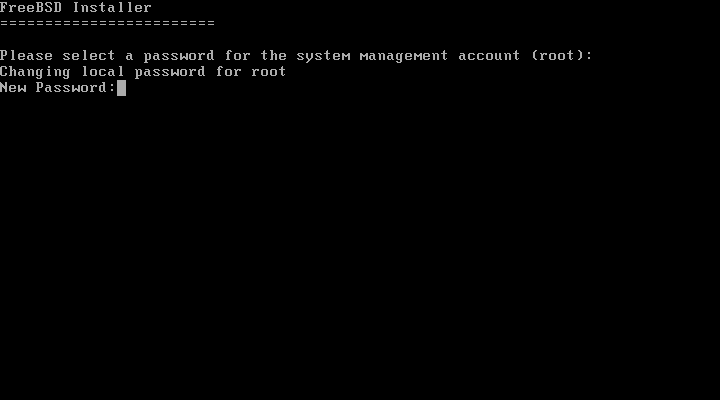
- Enter a password for the root account when prompted. Enter it again to verify it.
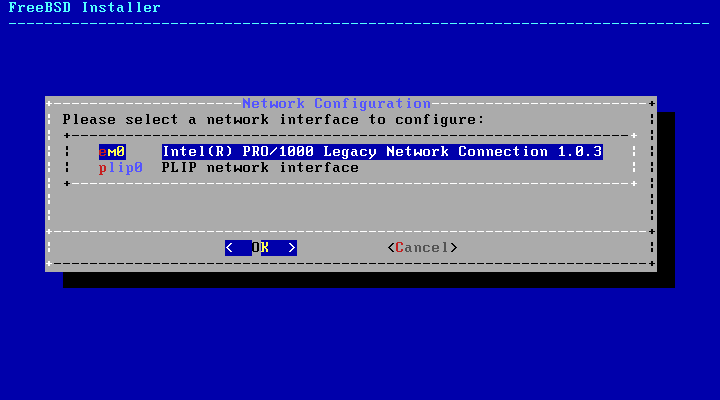
- Select your network card.
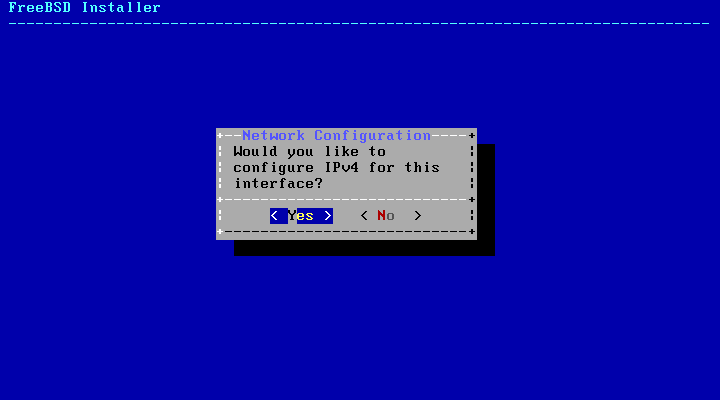
- Unless you know for sure you are going to use IPv6 only, say Yes to enabling IPv4.
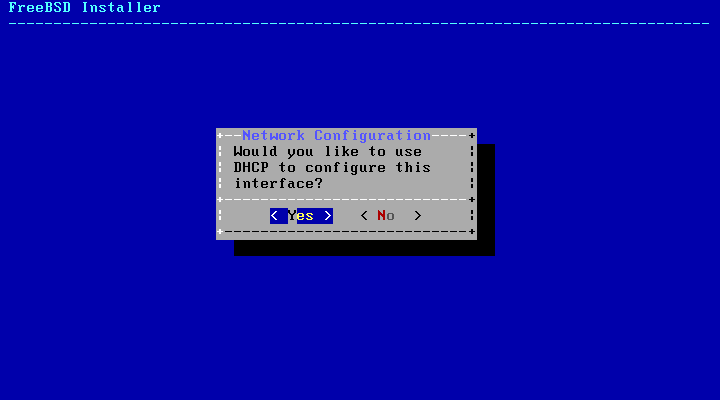
- Unless you have been given a specific IP address to use, say Yes to enabling DHCP.
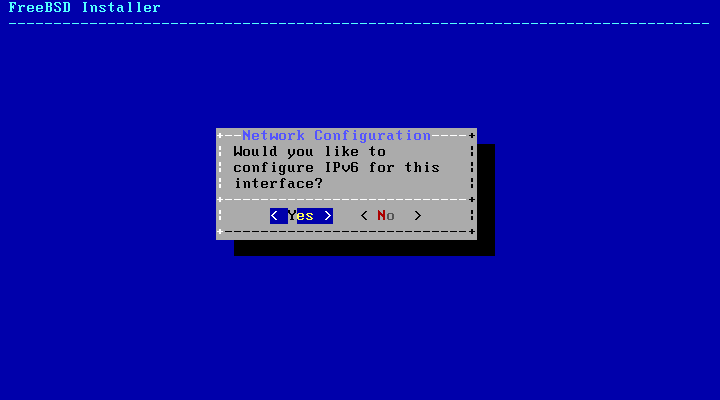
- Lately I like to enable IPv6 because all my operating systems now support it. But you probably don’t need it unless you know you need it.
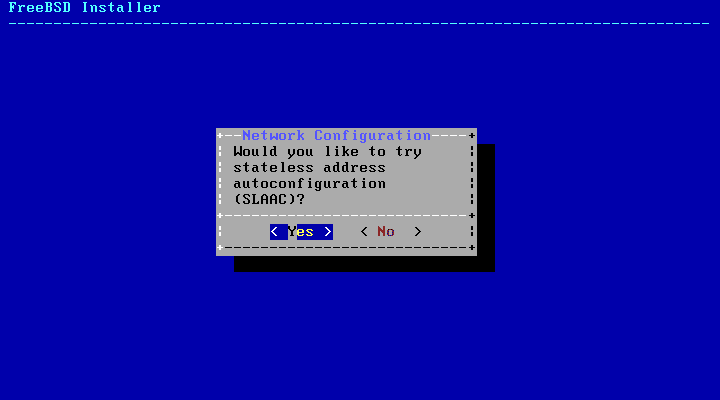
- If you enabled IPv6, you probably want this option, unless you have a specific IPv6 address you need to use.
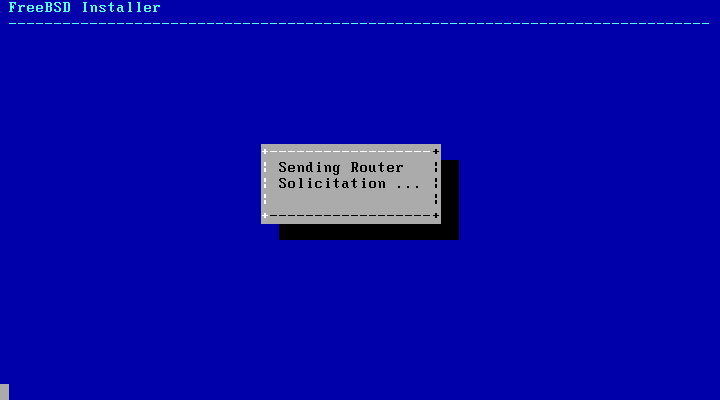
Your dynamic network settings are determined.
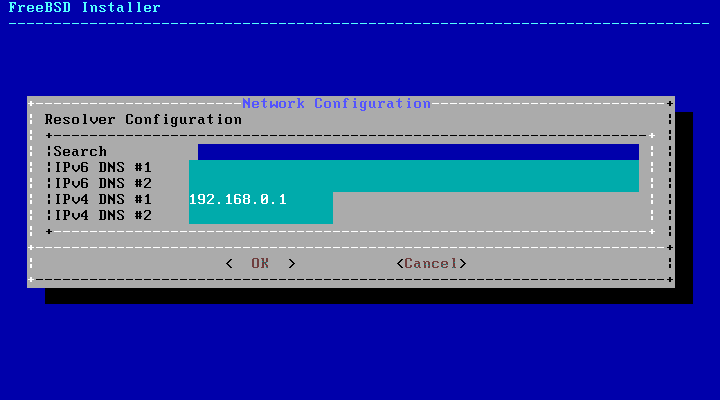
- Your DNS setting may be detected for you, but if not, you can enter your DNS settings manually. I only entered a single DNS entry for IPv4.
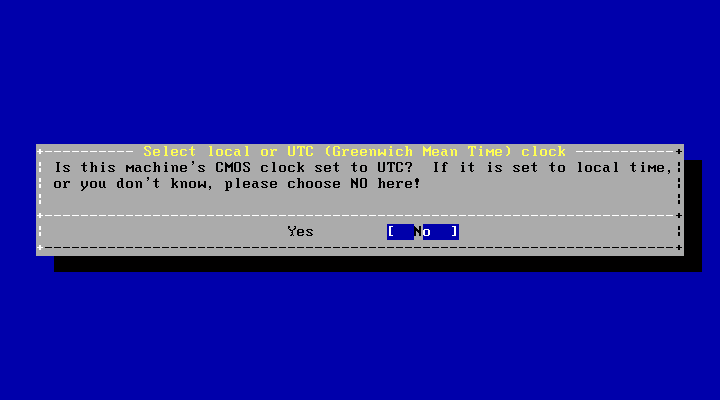
- Unless you have a server that needs its clocked synchronized to UTC, select No when prompted.
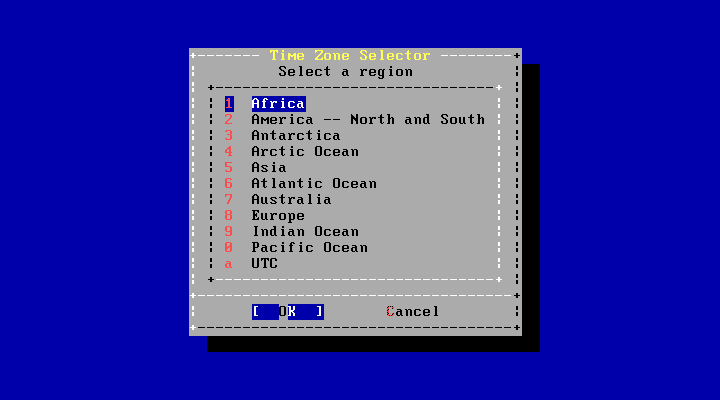
- Select your time Region.
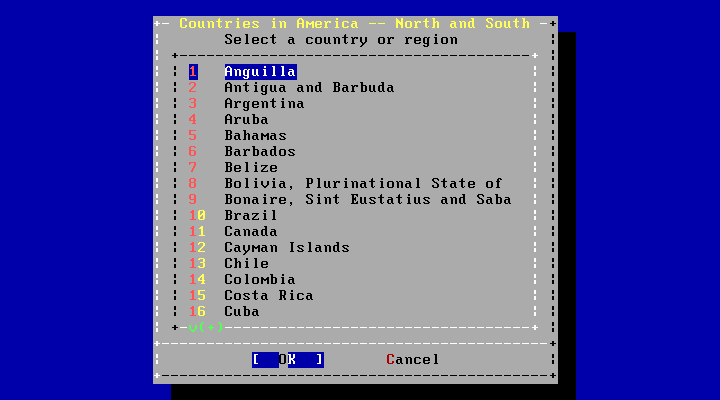
- Select your Country.
Note: United States is number 49.
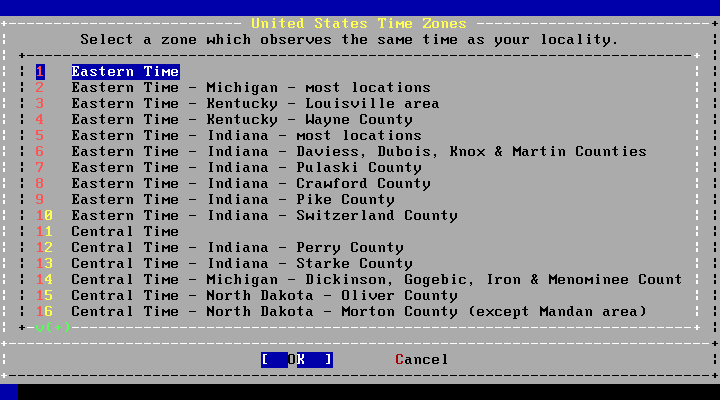
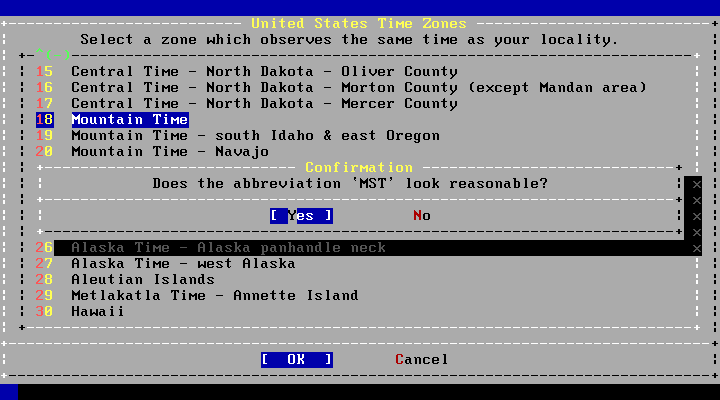
- Select your Time Zone.
- You may get a prompt to very whether the Time Zone you selected is correct. Select Yes if it is correct.
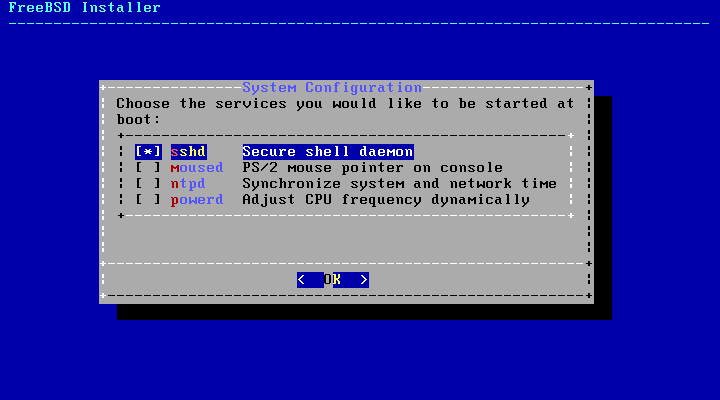
- Choose what to install.
Note: If you are on a laptop you consider selecting powerd.
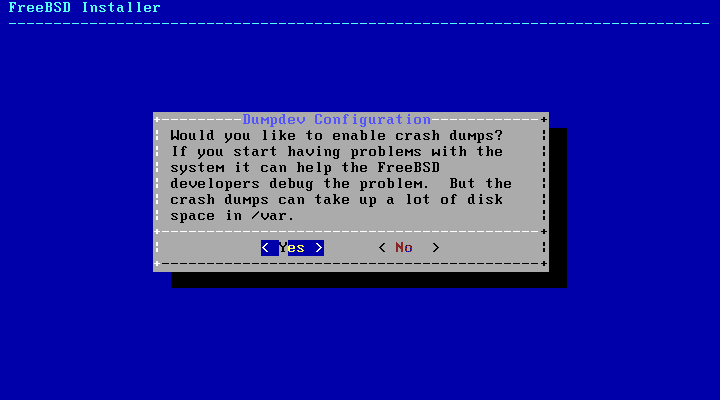
- If you want to contribute to FreeBSD and help them resolve bugs (especially yours) select yes. Otherwise, select No.
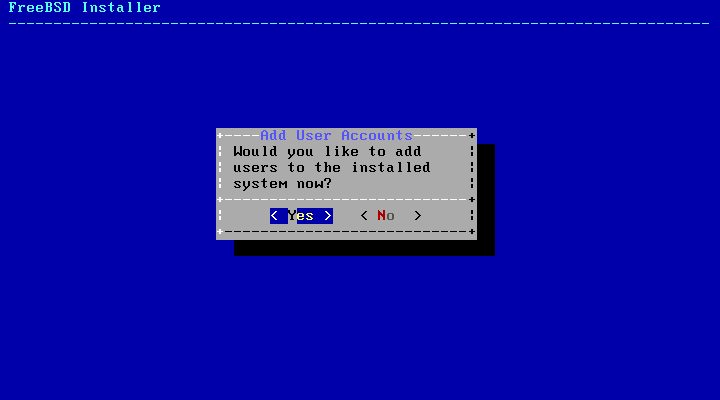
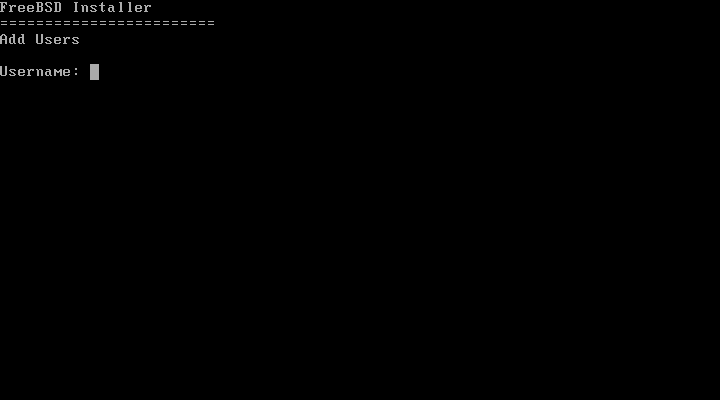
- Select Yes when prompted to Add user accounts.
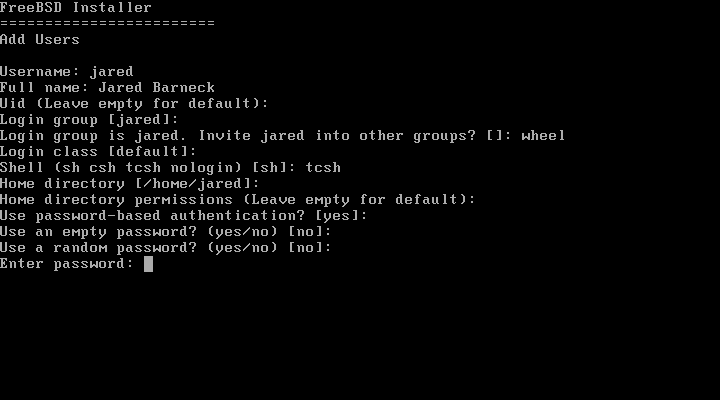
- Enter a user name and follow the prompts.
Note: Don’t forget to invite the user to the wheel group if they are going su to root.
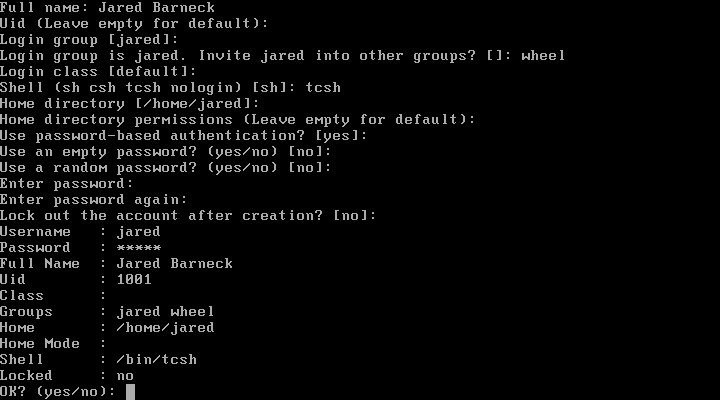
- Enter Yes when all the settings are correct.
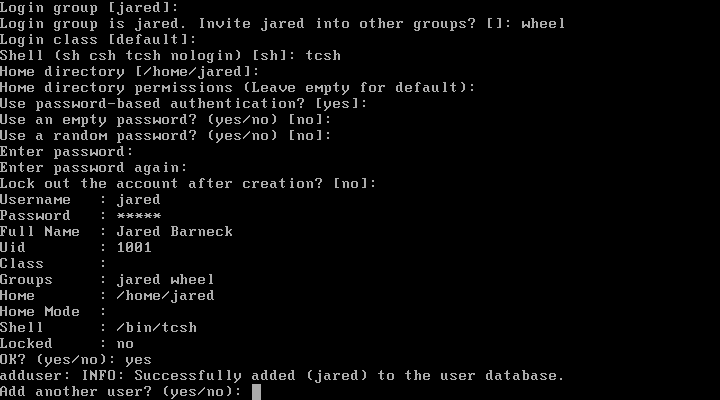
- Select Yes if you want to add more users and repeat these steps. Once you are done adding users, select No.
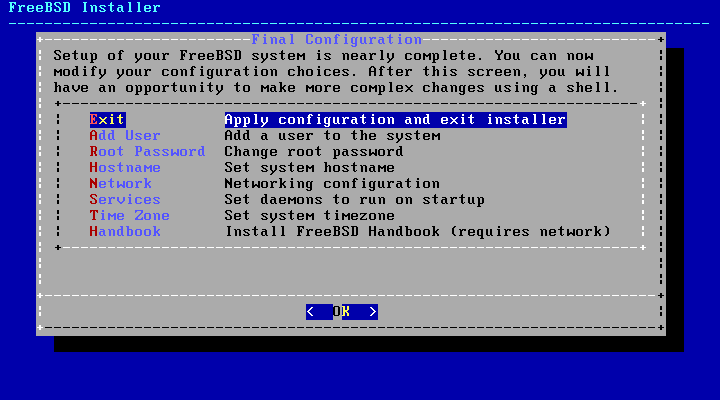
- Press Enter to Exit.
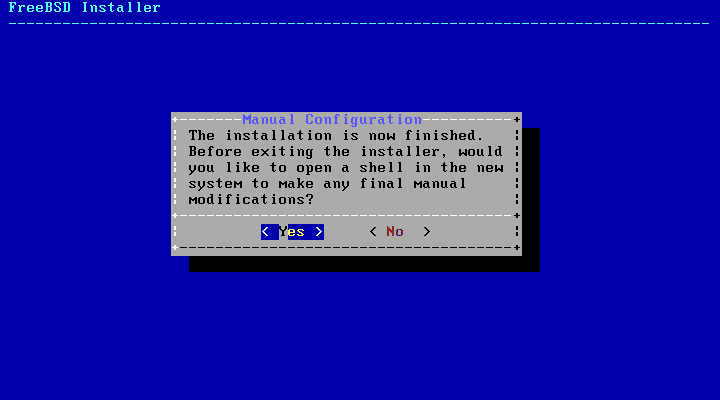
- I don’t have any special settings to make, so I select No here.
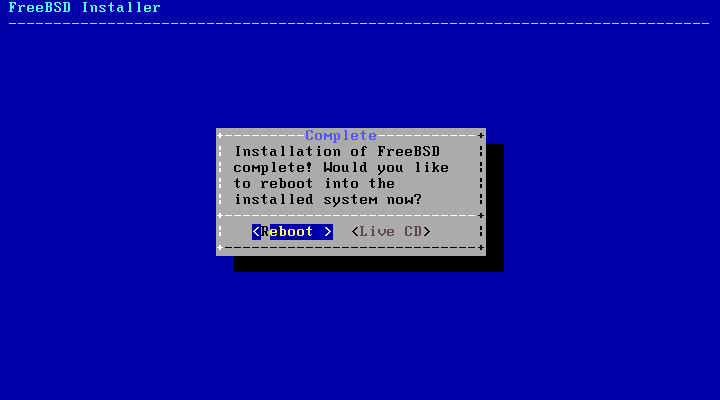
- Go ahead an press Enter to reboot.
Important! Do not boot of the DVD again!
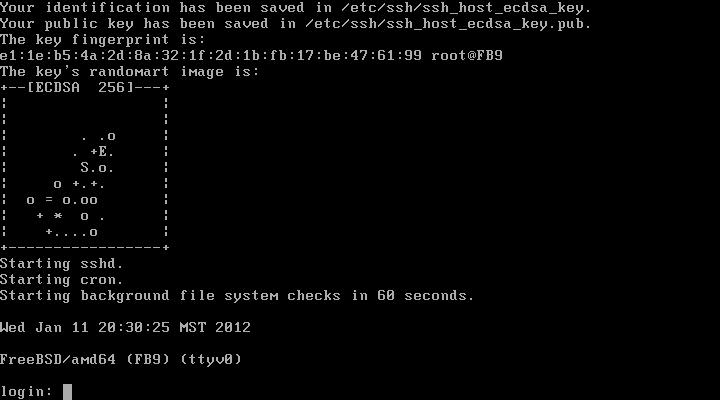
Your system will now boot and create an SSH key on its own and give you a login prompt.
FreeBSD is now installed.
Part 3 – Configure Your FreeBSD Install as Desired
What do you want to do next?
- Configure Apache + SSL, PHP, MySQL
- Configure a FreeBSD Desktop


when i choose reboot on part 21(step 3) i Return part 1 (step 2). why?
Are you booting off your DVD over and over again?
i want to install freebsd on VirtualBox and i use iso file .
I think the problem can be solved by:
Virtualbox | Settings | System.
Change your boot order so the HD boots before the cd/dvd. (one of those doh! moments for me).
Regards,
MarkB
I'm flummoxxed. Running FreeBSD9 in VBox (Win7.64). Get thru initial install correctly but must remove 'dvd iso' or else in an endless install loop. Also able to run the 3 commands for patch/update. Rather than do all the pkg_add -r from the web for X11 and KDE, how do I enable the DVD yet avoid the install routine?
Thank you for your wonderful articles.
MarkB
NEVER MIND. Figured out how to mount DVD and then point to folder for install.
Thanks!
MarkB
I am having windows xp installed on system today i have installed freebsd 9.0 thinking it will dual boot but only freebsd is booting with no option to select xp.
I am beginner to unix.
You didn't wipe the drive right? If you install XP first, and then install FreeBSD to only the available space and use the FreeBSD boot manager, it just works.
[...] How to install FreeBSD 9? [...]
[...] Instructions for installing FreeBSD 9 are found here: How do I install FreeBSD 9? [...]
[...] Instructions for installing FreeBSD 9 are found here: How do I install FreeBSD 9? [...]
I'm really waiting for your update, I need to configure my FreeBSD 9 desktop 😛 Thanks for your work, your guides are great 😉
me too!I haven't installed Freebsd yet,but I would also like to know how to install a GUI after installing FreeBSD(I'm currently running XP/Ubuntu 12.04 on this PC,but am planning to jump ship! LOL)!
You didn't answer the question sho-nuff had about Apache + SSL, PHP, MySQL and I see no link for the desktop setup either. I notice as well that you referred hadrons123 to an article for FreeBSD 8. Should we assume that the articles you wrote for FreeBSD 8 are the ones we should refer to for all of these issues or are new ones forthcoming and we should wait?
I'd like to have the information for setting up the desktop properly.
Thanks. These instructional articles are excellent.
Yeah...I was going to update multiple articles but I've been rather busy as I am in my second semester of a Masters of Computer Science.
I updated the Apache and the PHP articles.
I still need to update the MySQL article and updating the desktop article will take some time.
Thank you for the time you spent on these articles. Installation changed significantly when sysinstall was dropped in favor of bsdinstall with 9.0, so I am looking forward to the new FreeBSD desktop configuration article. Your article for 8.2 was superb and much appreciated. Cheers.
Where is the Configure Apache + SSL, PHP, MySQL Section or Link
Thanks
https://www.rhyous.com/2009/11/06/installing-an-apache-ssl-on-freebsd-using-the-ports-tree/
Your articles are good.I 've been following it for last 2 months.
Do you mind posting an article on auto mounting disk drives in FreeBSD 9.0 under GNOME or E17?
I have this in another article.
Step 7 – Enable CD/DVD/USB mounting
https://www.rhyous.com/2009/12/18/how-to-install-and-configure-a-freebsd-8-desktop-with-xorg-and-kde/